
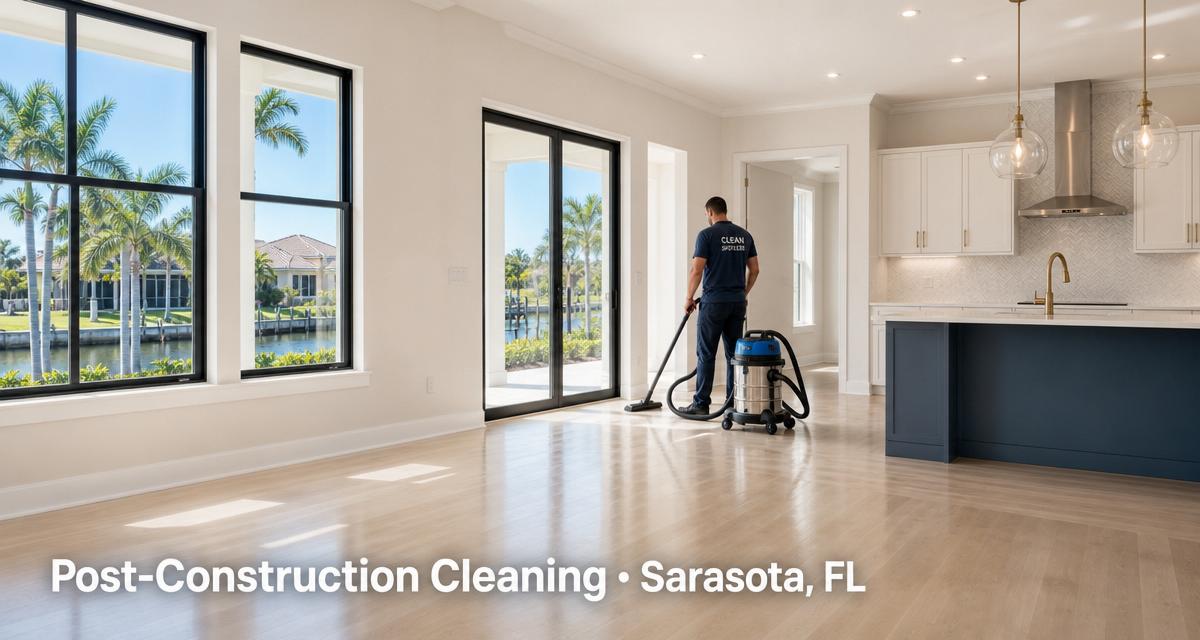
If you are standing in a finished remodel or a brand-new build wondering where to start, here is the short answer: start at the top, work down, and remove as much dust as possible before introducing water.
One of the easiest ways to make post construction cleaning harder is to start wiping dusty surfaces with a wet cloth. Fine drywall and construction dust can quickly turn into a grey residue that smears across trim, windows, cabinets and floors. A thorough dry pass first usually saves a lot of extra work.
Below is a complete post construction cleaning checklist covering the major stages of cleanup, followed by room-by-room details that are easy to miss. We will also cover a few things that make after construction cleaning different in Florida, particularly around Sarasota, Bradenton and Lakewood Ranch.
The Three Phases of Post Construction Cleaning
Post construction cleaning is often divided into several stages depending on the size of the project, the contractor, and how much work remains. For a small renovation, some of these stages may be combined. On a new build or major remodel, they usually happen separately.
Rough Clean
While the property is still transitioning from active construction to finished space.
- Removing construction debris and packaging
- Picking up drywall scraps, wood pieces, nails, screws and other materials
- Removing larger amounts of dust and dirt
- Sweeping or vacuuming floors
- Clearing work areas for contractors
- Removing temporary materials that are no longer needed
Light or Interim Clean
After paint, cabinets, trim, flooring and fixtures are in — but before the final walkthrough.
- Vacuuming accumulated dust
- Wiping horizontal surfaces
- Cleaning cabinets
- Cleaning bathrooms and kitchens
- Removing installation debris
- Giving floors an initial cleaning
Final Clean
Once the property is substantially finished. This is where the detailed work happens.
- Removing remaining stickers and protective film
- Cleaning cabinet interiors
- Detailing baseboards and trim
- Cleaning windows and tracks
- Removing appropriate construction residue
- Cleaning kitchens and bathrooms
- Detailing fixtures
- Vacuuming and cleaning floors
- Cleaning vents, ledges, doors and other dust-catching surfaces
There is little value in polishing fixtures or detailing floors while contractors are still cutting material, sanding drywall or installing trim. The final clean is where attention shifts from construction debris to the small things a homeowner notices immediately: dust inside a cabinet, fingerprints on a door, residue on new tile, stickers on appliances, or debris sitting in a window track.
If contractors continue sanding, drilling, cutting or completing punch-list work after the final clean, expect some surfaces to need another touch-up. That is normal, not a failure of the cleaning.
Before You Start: Tools and Order of Operations
Fine construction dust behaves differently from ordinary household dust, so equipment matters. A vacuum equipped with an appropriate fine-particle or HEPA filtration system is especially useful for drywall and construction dust. Always follow the vacuum manufacturer's recommendations — some household vacuums are not designed for large amounts of fine construction debris.
Other useful supplies include:
- Plenty of microfiber cloths
- Microfiber flat mop and extra pads
- Extension pole or duster
- Step ladder
- Appropriate glass-cleaning tools
- Plastic scraper
- Buckets
- Trash bags
- Painter's tape
- Surface-specific cleaning products
- Protective gloves and other appropriate PPE
Just as important as the tools is the order in which you use them:
- Remove debris and trash
Everything loose goes first — packaging, offcuts, protective coverings that are ready to come off. You cannot assess a surface you cannot see.
- Take dry dust off high surfaces
Ceilings, crown moulding, high ledges, fan blades, light fixtures. Dry methods only at this stage, and always before anything wet touches the room.
- Work downward
Fixtures, cabinets, walls, doors, trim, baseboards. Gravity is doing half the job for you — do not fight it by cleaning bottom-up.
- Vacuum floors and remaining dust
Use fine-particle filtration and go slowly along edges and transitions, where construction debris collects most heavily.
- Begin damp or wet cleaning
Only now. With the bulk of loose dust gone, water cleans instead of creating grey smears across trim and glass.
- Clean floors last
There is little reason to finish a floor while dust is still being removed above it.
- Work toward the exit
Finish in a direction that means you are not walking back across areas you have already completed.
One mistake we regularly see on detailed cleaning jobs is cleaning the floor too early. If ceiling fans, fixtures, cabinet tops or high ledges still need dusting, much of that debris ends up right back on the freshly cleaned floor.
Send us the property size, location and a few photos of the current condition. We will come back with a firm price.
Complete Post Construction Cleaning Checklist
Every construction project is different, but this checklist provides a strong starting point for a new build, renovation or remodelling cleanup.
Whole house
- Remove remaining construction debris and packaging
- Remove protective coverings that are ready to come off
- Check floors and edges for loose nails, screws, staples and other debris
- Dust ceilings and corners where accessible
- Dust crown moulding and high ledges
- Clean ceiling fan blades
- Wipe accessible light fixtures
- Remove visible dust from walls using a method appropriate for the paint or wall finish
- Clean door frames and door tops
- Wipe both sides of doors as needed
- Detail door hardware
- Clean baseboards, including the top edge
- Remove appropriate construction residue from trim and hardware
- Clean switch plates and outlet covers
- Vacuum and wipe accessible HVAC vent and return covers
- Check HVAC filters and replace them when appropriate
- Wipe stair railings, spindles and other detailed woodwork
- Vacuum closets
- Wipe closet shelves and rods
- Clean mirrors and interior glass
- Vacuum floors thoroughly
- Mop or otherwise clean flooring according to the manufacturer's recommendations
Windows
Windows can be one of the most time-consuming parts of after construction cleaning, because dust and installation debris collect in tracks, corners and frames.
- Remove manufacturer stickers and protective film where appropriate
- Vacuum loose debris from window tracks before wiping them
- Clean tracks and sills
- Wipe interior frames
- Clean interior glass
- Check corners for drywall dust and construction debris
- Remove paint, adhesive or other residue only with methods appropriate for the specific glass and frame material
Not every type of glass should be treated the same way. Before using razor blades, scrapers, abrasive pads or chemicals, check the window or glass manufacturer's recommendations. A small cleaning mistake on brand-new glass can turn into an expensive replacement.
Kitchen
New kitchens have a surprising number of places for sawdust and construction dust to hide. Fine dust settles inside drawers and cabinets even when the doors stayed closed throughout the build.
- Remove appliance stickers, foam, cardboard and protective film as appropriate
- Clean inside cabinets
- Clean inside drawers
- Wipe cabinet doors and drawer fronts
- Check the tops of upper cabinets
- Clean underneath cabinet edges
- Wipe toe kicks
- Clean countertops
- Clean backsplash
- Detail the area around the sink
- Clean and polish faucets
- Wipe appliance exteriors
- Clean appliance interiors if included in the scope
- Remove packing materials from appliances
- Clean the range hood exterior
- Clean the range hood filter when appropriate
- Clean the dishwasher interior if needed
- Clean the refrigerator interior if included
- Vacuum underneath or around accessible appliance areas
- Clean stainless steel using a product appropriate for the finish
- Vacuum and clean floors last
Bathrooms
Bathrooms combine glass, tile, grout, metal fixtures, acrylic, stone and painted surfaces in a small space, so using the right product on each matters more here than almost anywhere else.
- Remove protective film and labels where appropriate
- Remove construction dust from walls and ledges
- Clean vanity interiors and exteriors
- Clean drawers
- Clean mirrors
- Wipe light fixtures
- Clean sinks and countertops
- Polish faucets and fixtures
- Clean toilet inside and out
- Clean around and behind the toilet where accessible
- Clean tub and shower surfaces
- Clean shower glass
- Wipe exhaust fan covers
- Vacuum corners and edges
- Check drains for visible construction debris
- Inspect tile for grout haze
- Clean floors according to the flooring manufacturer's recommendations
Abrasives that seem harmless on an older bathroom can permanently damage new acrylic, polished metal, glass or stone. Brand-new finishes are less forgiving than the ones they replaced.
Removing Grout Haze After Construction
Grout haze is the cloudy or chalky residue that can remain on tile after grout installation. The correct removal method depends entirely on the grout and tile involved.
Before applying a grout haze remover, acid-based cleaner, vinegar, abrasive pad or any other product, check the recommendations from both the grout and tile manufacturers. Natural stone such as marble and travertine can be especially sensitive to acidic products. If you are unsure, test in a small, inconspicuous area first.
Heavy grout haze is a different problem from ordinary surface residue. On expensive tile or natural stone, the wrong chemical can create a far bigger problem than the haze itself.
Floors
Floors should generally be one of the last things cleaned. Before introducing a mop or any wet method, remove loose construction dust, sand, sawdust and other abrasive debris as thoroughly as possible — dragging grit across a new floor is how a brand-new surface picks up its first scratches.
Tile
Vacuum loose debris first, paying particular attention to grout lines and edges. Then clean with products appropriate for the tile and grout.
Luxury vinyl plank (LVP)
Remove grit thoroughly before damp cleaning. Follow the flooring manufacturer's recommendations and avoid flooding seams with water.
Hardwood
Use cleaning methods approved for the specific finish, and avoid excessive moisture.
Carpet
Vacuum slowly and thoroughly, especially around walls and transitions where construction debris collects. Newly installed carpet often needs several passes to lift loose fibres and construction dust.
Garage, Lanai and Exterior Areas
These areas are easy to overlook because most of the attention goes to the interior. Construction dust does not stop at the back door — cutting tile, stucco work, landscaping and workers moving between indoor and outdoor areas all leave debris around exterior living spaces.
- Garage floors
- Garage corners and wall edges
- Garage door tracks
- Entry doors
- Exterior light fixtures
- Covered entryways
- Patios
- Lanais
- Screen frames
- Pool cage areas
- Walkways
- Pavers
- Sliding door tracks
What Is Different About Post Construction Cleaning in Florida?
The basic process is the same anywhere, but Gulf Coast properties have a few characteristics worth planning around. These are the ones we account for most often when quoting post construction cleaning across our service areas.
Humidity and fine dust
Florida humidity can make fine dust more stubborn once moisture is introduced. That is another reason to remove as much loose dust as possible before wet cleaning. Changing microfiber cloths and mop pads frequently also stops residue simply being moved from one surface to another.
Sand
Sand gets everywhere on an active site — entryways, sliding door tracks, window tracks, garages and around exterior doors. Because sand and construction debris are abrasive, vacuuming floors thoroughly before mopping matters even more here than it does inland.
Lanais and pool cages
Screened outdoor areas are standard around Sarasota and Bradenton, and construction dust settles on screen frames, sliding door tracks, outdoor fans, patio surfaces and pool cage structures. These are the first things forgotten during an interior-focused final clean.
Stucco and exterior residue
Stucco, paint, mortar and other materials often end up on window frames, walkways and pavers. Removal methods should be chosen based on the affected material — aggressive scraping or chemicals can damage a new finish just as easily outside as inside.
HVAC
If the HVAC system ran while dusty construction work was underway, check filters and accessible vent covers once the project is complete. For contamination beyond normal surface cleaning, an HVAC professional can determine whether further inspection or duct cleaning is appropriate.
Vacation rentals and seasonal properties
Sarasota and Manatee County have a great many seasonal homes and vacation rental properties, which makes scheduling the sharpest constraint. If a renovation has to be finished before an owner arrives or the next guest checks in, do not schedule the final clean tight against that deadline. Contractor punch-list work creates new dust after the main construction is technically done, and a buffer is what lets the cleaners work after the trades are genuinely finished.
What Affects Post Construction Cleaning Cost?
There is no single reliable price for every project. Companies may price by square footage, by estimated labour, or give a flat project quote after reviewing condition and scope. Two houses of identical size can need very different amounts of work.
Factors that push the price up:
- Heavy drywall dust throughout the property
- Large amounts of construction residue
- Extensive interior glass
- Large sliding doors
- High windows and high ceilings
- Detailed tile installations
- Grout haze
- Numerous cabinets and drawers, or a large kitchen
- Construction debris that needs removing
- Exterior cleaning included in the scope
- Difficult-to-access areas
- Rush scheduling
- Additional cleaning after contractors return
A project where the contractor protected floors and contained dust during construction is almost always cheaper to clean than one where sanding and cutting happened throughout the house. Timing matters just as much: cleaning while trades are still working usually means cleaning some areas twice.
Ask exactly what is included. The phrase “construction cleanup” means very different things to different contractors and cleaning companies — one quote may cover debris removal only, another a full detail down to cabinet interiors and window tracks.
Post Construction Cleaning vs. Deep Cleaning
These services overlap, but they are not the same job. A deep cleaning targets dirt created by everyday living: grease, soap scum, dust, fingerprints, pet hair and buildup around frequently used areas. If you want that compared task by task, our deep clean checklist covers it room by room.
Post construction cleaning targets residue created by building work:
- Drywall dust
- Sawdust and fine construction dust
- Stickers and protective film
- Adhesive residue
- Grout haze
- Paint spots
- Packaging
- Dust inside new cabinets
- Debris in window and door tracks
The tools, products and level of detail are therefore different from a normal house clean. If the property is about to be occupied or handed over, a move-in cleaning may also be part of the picture — that one focuses on getting a home ready to live in rather than on construction residue.
What Can You Clean Yourself?
For a smaller renovation, homeowners can handle a good portion of the cleanup with enough time and the right equipment. Debris removal, cabinet interiors, basic dusting, appliance wipe-down and vacuuming are all reasonable DIY tasks.
It gets harder when you are dealing with:
- Heavy drywall dust throughout an entire house
- Very high ceilings
- Large amounts of glass
- Difficult construction residue
- Grout haze
- Natural stone
- Delicate new finishes
- Large properties with tight completion deadlines
The biggest risk is not that something stays dirty. It is damaging a new finish while trying to clean it — a scratched window, a damaged LVP plank, an etched stone surface or a marked stainless-steel appliance can cost far more than the cleaning itself.
For future projects, containing the work area before demolition and sanding also cuts down significantly on how far construction dust travels through the property.
Post Construction Cleaning Tips That Save Time
- Wait until dusty work is finished — if someone is still sanding drywall next door, detailed cleaning is premature
- Work from high to low: ceiling fans and upper ledges before baseboards and floors
- Vacuum before you wipe, so moisture is not added to loose dust
- Swap microfiber often — a cloth loaded with drywall dust is moving residue, not removing it
- Check manufacturer recommendations before using chemicals, blades, abrasive pads or heavy moisture on new finishes
- Do not forget tracks and hidden surfaces: window tracks, sliding doors, cabinet interiors, closet shelves, door tops, vent covers
- Leave floors until the end
Frequently Asked Questions About Post Construction Cleaning
It depends heavily on the size of the property, the amount of construction dust, the type of renovation, the number of windows, ceiling height, flooring, and how well the contractor contained debris during the project. A contained kitchen remodel and a whole-house renovation of the same square footage can require completely different amounts of cleaning. The most accurate estimate usually comes from evaluating the actual condition and scope rather than relying only on square footage.
Very fine dust can remain on high ledges, inside tracks, around vents, and in areas that were not obvious during the first pass. Additional contractor work after cleaning can also introduce new dust. A careful top-to-bottom cleaning process helps minimise this problem.
It depends on the builder and the contract. Some projects include basic construction cleanup, while others include a more detailed final cleaning. Do not assume the property will receive a full detail clean simply because cleanup is mentioned in the contract — ask what surfaces and tasks are specifically included.
Check your vacuum manufacturer's instructions before using it for fine construction dust. Large amounts of drywall dust can quickly clog filtration systems, and not every household vacuum is designed for that type of material. Equipment designed for fine-particle collection is generally a better choice for significant construction cleanup.
If the HVAC system was running during dusty construction work, inspect the filters once the project is complete and replace them as appropriate. The amount of contamination varies considerably depending on the work performed, whether vents were protected, and whether the system operated during sanding and other dusty tasks.
A deep clean primarily deals with accumulated household dirt and grime. Post construction cleaning deals with residue from building and remodelling — drywall dust, sawdust, packaging, adhesive, grout haze, paint residue, and dust inside newly installed cabinets and fixtures. The tools, products and amount of detail required are different.
Whenever possible, the detailed final clean should happen after the majority of contractor work is finished but before the property is handed over or occupied. If punch-list work still requires sanding, cutting, drilling or painting afterwards, plan for the possibility of a final touch-up.
A Clean Finish Matters as Much as the Build
A renovation can be beautifully finished and still feel incomplete when drywall dust is sitting on the baseboards, cabinet interiors are full of sawdust, and every window track is packed with debris.
A good post construction cleaning checklist is less about cleaning everything at once and more about doing the work in the right order: remove debris, work from high to low, get the fine dust out, detail the surfaces, and finish with the floors.
If your new build or remodel is wrapping up and you would rather hand off the final cleanup, DS Cleaning provides post construction cleaning for homes and renovations in Sarasota, Bradenton, Lakewood Ranch and surrounding areas. Send us the property size, location and a few photos of the current condition, and we can help work out what level of cleaning the project actually needs.

Nadiia Soroka is the owner of DS Cleaning, a professional residential cleaning company serving Sarasota, Bradenton, and the surrounding Gulf Coast.
More articles by Nadiia →